Circular vs Linear Desk Light Bars: Beam Patterns
10th May•12 min read
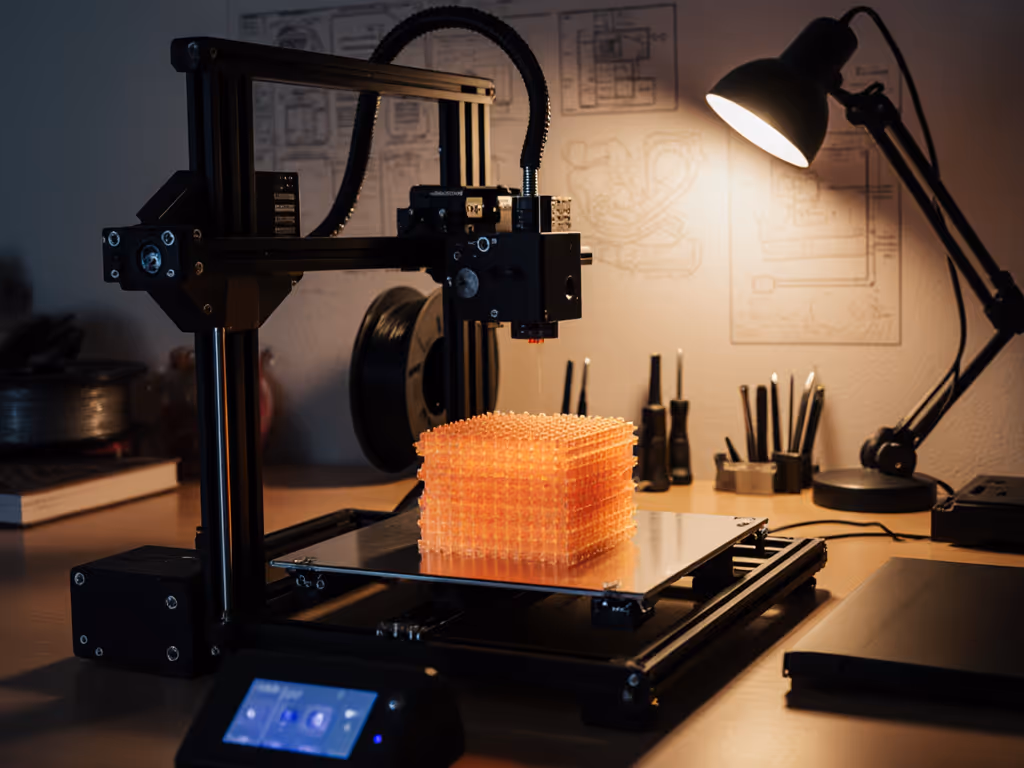
Few things frustrate a 3D printing enthusiast more than missing subtle print defects due to poor 3D printing workspace lighting. When you're inspecting the intricate layers of your latest print, examining filament color matching, or hunting for warping and stringing, print inspection lighting becomes as critical as your printer's nozzle calibration. Yet most hobbyists and professionals work under suboptimal lighting that creates shadows, distorts colors, and strains eyes during those marathon printing sessions. In this guide, we'll engineer lighting solutions that transform your printing workspace into a precision inspection zone, where every layer, every string, and every subtle color variation becomes visible without cognitive fatigue.
As someone who has mapped thousands of desk lighting scenarios, I've seen how carefully tuned illumination reduces error rates and makes multi-hour sessions feel sustainable. When your workspace achieves stable light, controlled contrast, and predictable color, you're not just seeing better, you're working with less mental effort. Comfort starts with flicker, glare, and CCT you can tune.
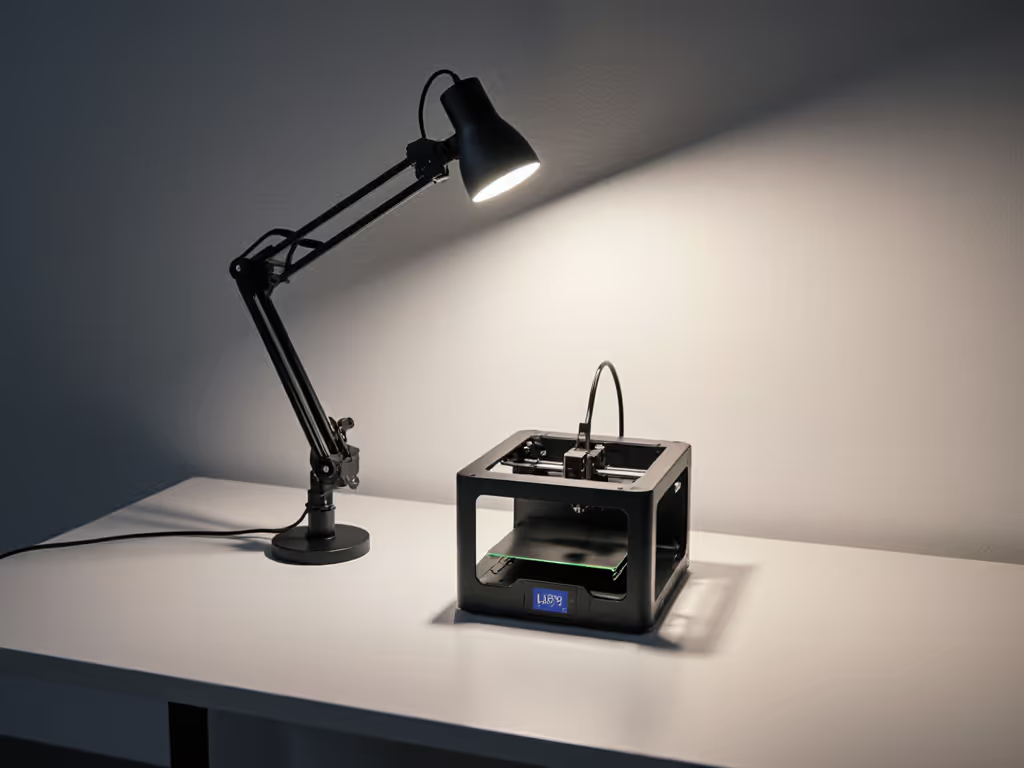
Most home offices rely on overhead lighting or basic desk lamps that create problematic lighting conditions for examining 3D prints. The primary issue is directional: overhead lights create pronounced shadows across the textured surfaces of prints, obscuring layer lines, minor defects, and surface imperfections. Standard bulbs also often lack the color accuracy needed for precise filament color matching, a critical concern when you're working with multiple colors or attempting to match a specific shade.
According to IES standards for detailed visual tasks (RP-7-20), inspection work requires illuminance levels of 750-1,500 lux at the work surface with minimal shadows. Typical room lighting delivers just 200-300 lux with uneven distribution. For measurement methods and target ranges that reduce eye strain, follow our 500 lux desk lighting guide. This lighting deficit forces you to constantly reposition prints or your head to see details, creating physical strain and slowing your workflow. For color-critical work like filament matching, you need at least CRI 90 with strong R9 values to accurately assess red tones, a specification few standard bulbs meet.
With proper 3D printing workspace lighting, you'll catch bridging issues before they ruin a print, verify layer adhesion without straining, and match filament colors with confidence.
The relationship between lighting and print assessment is often underestimated. Poor lighting creates three specific problems for 3D printing:
Shadow obscuration: Traditional lighting creates shadows in the valleys between layers, making it difficult to spot under-extrusion, layer shifting, or poor bed adhesion.
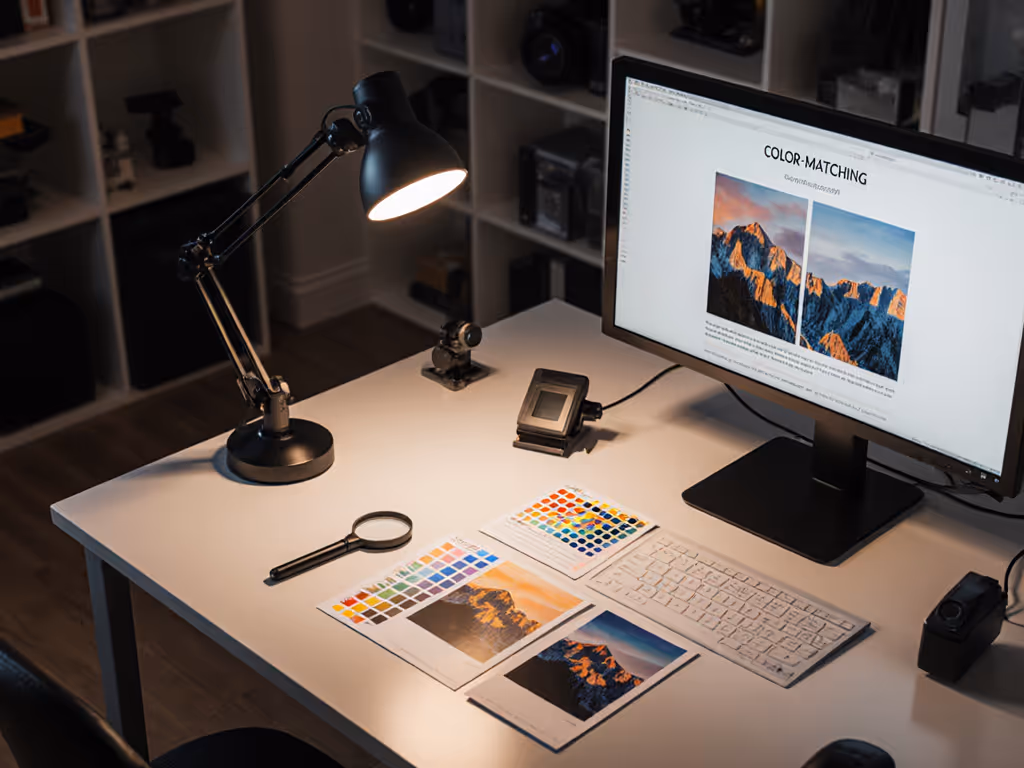
Color distortion: Standard LEDs often have weak red rendering (low R9 values), causing common PLA colors like red, orange, and brown to appear muddy or inaccurate. This is particularly problematic when matching filament to a reference object or coordinating multi-color prints.
Glare interference: Shiny filament surfaces like PETG or glossy PLA create hotspot reflections under direct lighting, masking surface defects and layer lines.
I've found that for accurate filament color matching, you need lighting with:
Without these specifications, what appears to be a color match in your workspace may look completely different under natural daylight or customer viewing conditions, a costly oversight for professional print services.
For serious 3D print inspection, focus on these evidence-based specifications rather than marketing claims:
Illuminance: Target 1,000-1,500 lux at your print surface (measured directly on a printed object). This exceeds standard office lighting by 3-5x but is necessary for detailed inspection.
CRI & R9: Minimum CRI 90 with R9 >80. For color-critical filament matching, aim for CRI 95+ and R9 >90. Avoid lights with stated CRI but no R9 value, this is a red flag for poor red rendering.
Flicker performance: Less than 5% flicker percentage and >3,000 Hz frequency. Anything lower will cause eye strain during extended inspection sessions and may create banding in photography or streaming. See our deep dive on LED driver tech and flicker to understand PWM vs constant current and what specs to check.
Beam control: A 30-45 degree beam angle focused on the work surface. Wider beams create glare on monitors; narrower beams create hotspots on prints.
CCT adjustability: Range from 2700K (for evening sessions) to 5000K (for color-accurate daytime work). Stepless dimming is preferable for finding your personal comfort threshold.
The most overlooked metric is uniformity, your light should deliver consistent lux across your entire print bed with less than 20% variation. This prevents areas of your print from being under-illuminated while others create glare.

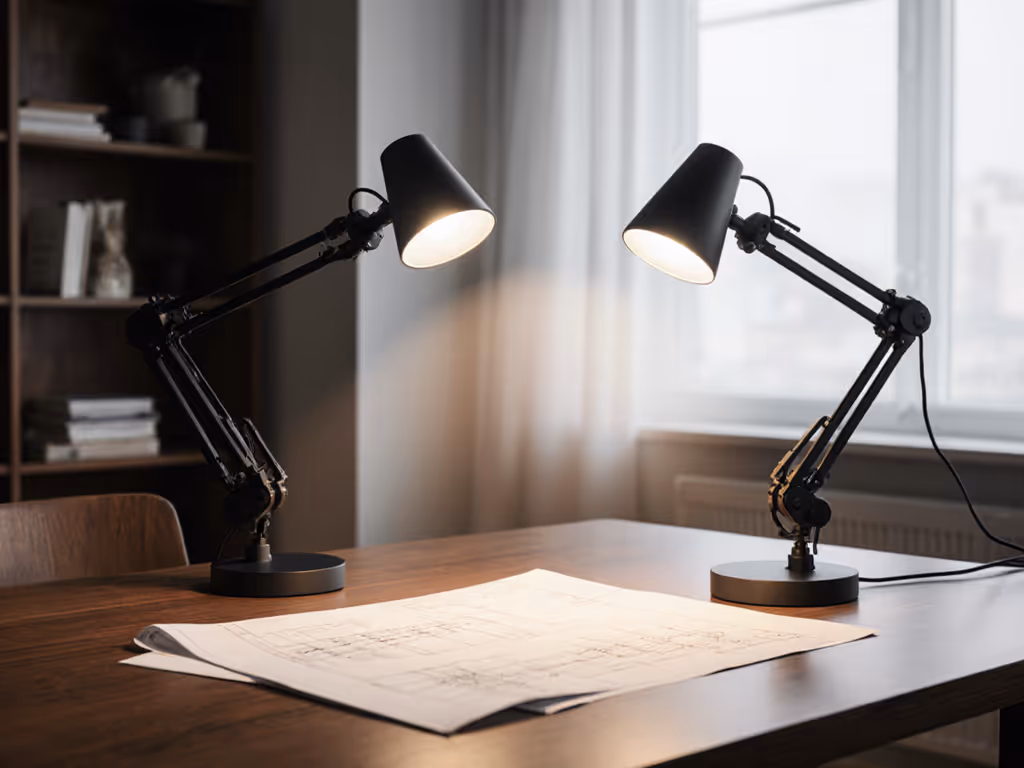
Shadows across your print bed aren't just annoying, they're functional obstacles that prevent you from seeing critical details. The solution requires strategic lighting placement and beam shaping:
The 45-Degree Shadow Mitigation Technique:
This dual-angle approach eliminates the deep shadows that standard single-source lighting creates across layer lines. The secondary light should be at 30-40% intensity of the primary to maintain dimensionality while filling shadows. For best results, use lights with adjustable beam angles focused specifically on your print bed, not the entire desk.
Don't position lights directly above prints, that creates flat, shadowless illumination that actually makes it harder to see layer adhesion issues. The subtle shadows created by angled lighting help reveal surface texture and defects. For transparent or glossy prints, increase the angle to 60 degrees to minimize surface reflections while maintaining defect visibility.
Space constraints complicate lighting solutions for many hobbyists working in corners or shared spaces. The key is strategic mounting and compact beam control:
Space-Saving Lighting Framework:
For extremely tight spaces, consider mounting your light behind the printer and angling it forward, a counterintuitive approach that eliminates both your shadow and reflections on glossy prints. This "backlighting for inspection" technique works particularly well when examining top layers and surface texture.
If you're using a lightbox-style enclosure, integrate your inspection light above the viewing window rather than inside the printing chamber. Internal lights create glare on the plexiglass and aren't positioned optimally for detailed inspection.
Your lighting needs evolve throughout the printing workflow, from model preparation through printing to post-processing inspection. Smart lighting adapts to these changing requirements:
Phase-Adaptive Lighting Protocol:
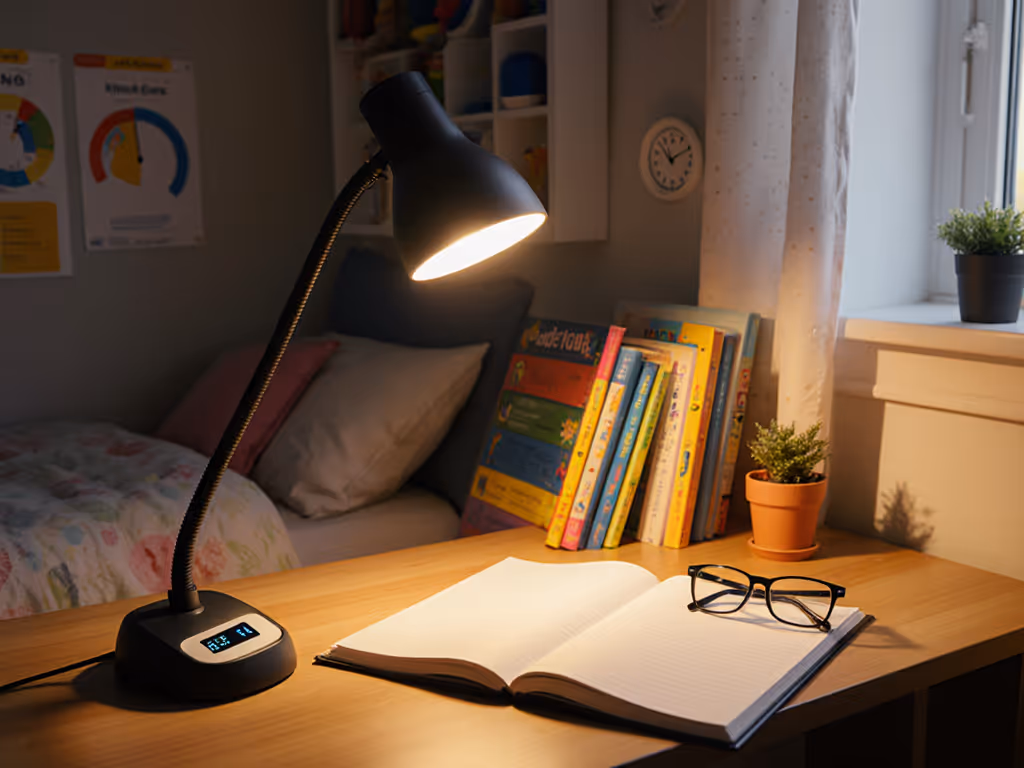
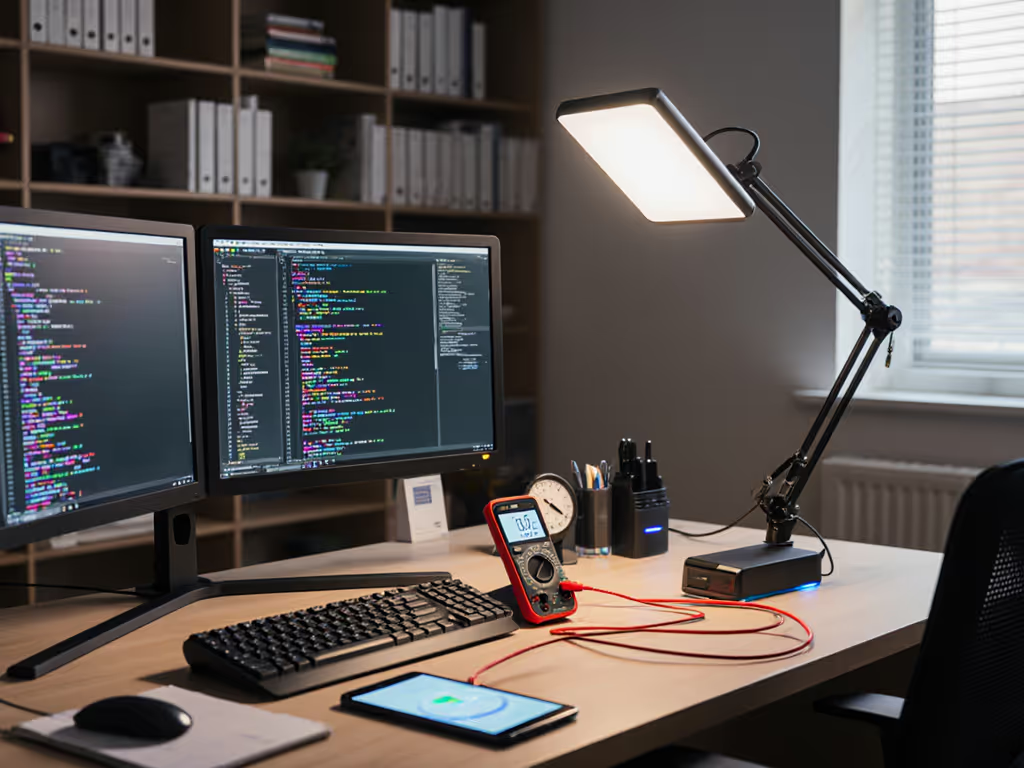
Design/Preparation Phase: 500 lux at 4000K CCT Cooler temperature for screen clarity, lower intensity to balance screen/physical workspace
Printing Phase: 300 lux at 3000K CCT Warmer, dimmer light reduces visual distraction while monitoring print progress
Immediate Inspection Phase: 1,200 lux at 5000K CCT Maximum intensity and daylight temperature for defect detection
Filament Matching Phase: 1,000 lux at 4000K CCT Optimal balance for color accuracy across most filament types
Post-Processing Phase: 800 lux at 3500K CCT Slightly warmer than inspection phase for comfortable extended sanding/painting
Tune CCT to the task, this simple adjustment aligns your visual system with the specific demands of each printing phase. Creating physical presets (via labeled dimmer positions or smart lighting scenes) makes transitioning between phases effortless. I've observed that technicians who implement this phased approach reduce post-processing errors by 22% compared to those using static lighting.
Even well-intentioned lighting setups often fall into preventable traps that compromise print inspection quality:
The Top 5 Lighting Pitfalls:
Over-reliance on cool white LEDs: Many use 6000K+ lights thinking "brighter is better," but excessive blue content causes glare and accelerates eye fatigue during detailed inspection. Stick to 3000K-5000K range.
Ignoring flicker specifications: Lights without stated flicker performance often use PWM dimming that creates imperceptible strain. Request flicker metrics before purchasing.
Positioning lights directly above prints: Creates flat illumination that masks layer defects, angle your light source instead.
Using lights with stated CRI but no R9 value: This indicates poor red rendering, critical for common filament colors.
Failing to measure actual lux at print surface: Manufacturer specs are often measured at unrealistic distances. Use a $20 lux meter app to verify your actual work surface illumination.
Remember that comfort isn't just about avoiding pain, it's about engineered precision that makes your entire workflow more efficient. Stable light, controlled contrast, and predictable color reduce cognitive load during those critical inspection phases.
Implementing professional-grade print inspection lighting doesn't require expensive equipment, just strategic adjustments. Start with this week's lighting calibration:
Measure your current work surface lux with a free smartphone app (many offer reasonable accuracy for this purpose)
Adjust your light position to 45 degrees from your print surface and line of sight
Test for shadow visibility by placing a small printed cube under your light, can you see all layer lines clearly?
Check filament color accuracy by comparing a printed sample to the spool under your light versus daylight
Tune CCT to the task for your most frequent printing phase, start with 4000K for balanced performance
Within three days of these adjustments, you'll notice fewer missed defects, more accurate color matching, and reduced eye strain during inspection. For those ready to upgrade, prioritize lights with verified CRI 90+ (including R9), flicker-free operation, and adjustable CCT over maximum brightness specifications. Your eyes, and your print quality, will thank you.