Desk Lamp Photobiological Safety: Standards Explained
6th May•8 min read
Ever squinted through an afternoon meeting or rubbed your eyes after hours of screen work? That's not just fatigue, it's often poor desk lamp placement science in action. Forget complicated lighting theories; the optimal lighting position is simpler than marketers make it seem. As someone who once taped a paper grid to test lux levels for my sister's "lamp that won't hurt," I've learned that clarity beats complexity. Let's transform your workspace with data-backed, beginner-friendly placement rules that eliminate guesswork.
You could own the most expensive LED task lighting lamps, but if positioned wrong, it'll cause glare, shadows, and eye strain. The magic isn't in the bulb, it's in how light interacts with your specific desk, monitor, and work habits. That's why my framework skips jargon like "luminous flux" and focuses on eye comfort positioning you can measure with your phone.
Pick by task, then tune. This mantra has guided my approach since my sister's "no hurt" lamp test (watching her read for two hours without discomfort) proved that simple frameworks beat fancy features.
Before adjusting hardware, answer these three questions:
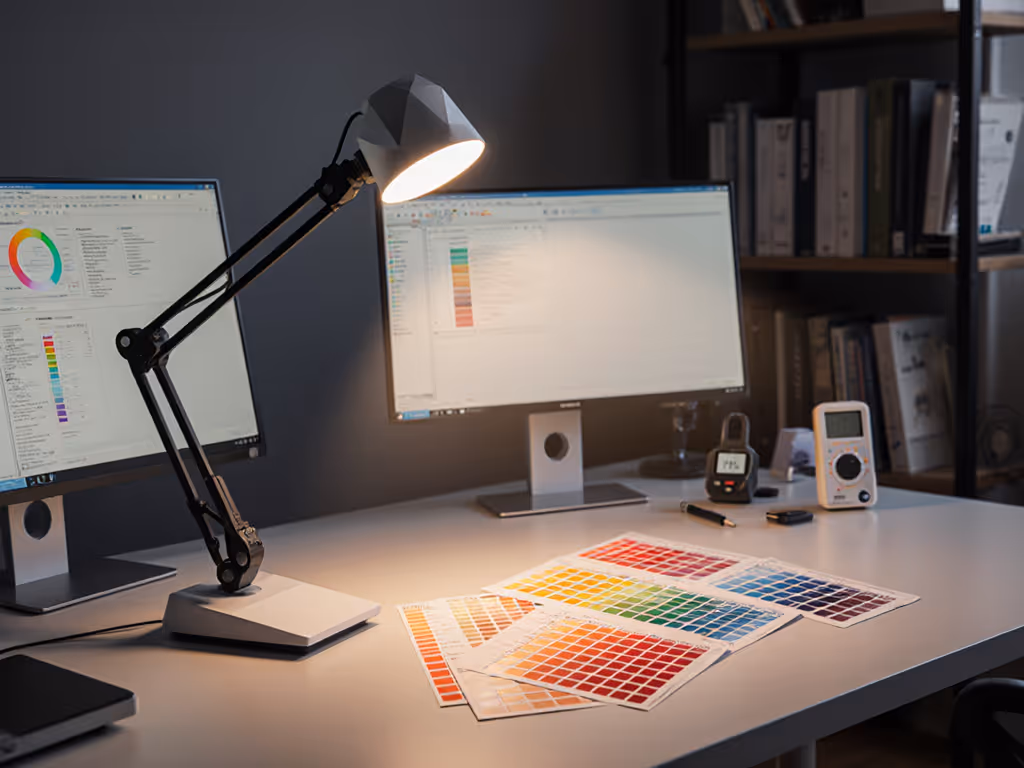
This step addresses the #1 pain point: lamps that cause headaches because they're optimized for "general lighting" instead of your workflow. Start simple: map your workstyle, then dial lux and CCT. If you're unsure about color temperature, use our Desk Lamp Kelvin Guide to match light to tasks and time of day. For example, if you're writing reports all day (a right-handed person), you need even illumination across paper, meaning your lamp must sit on the left side to avoid casting shadows from your hand.
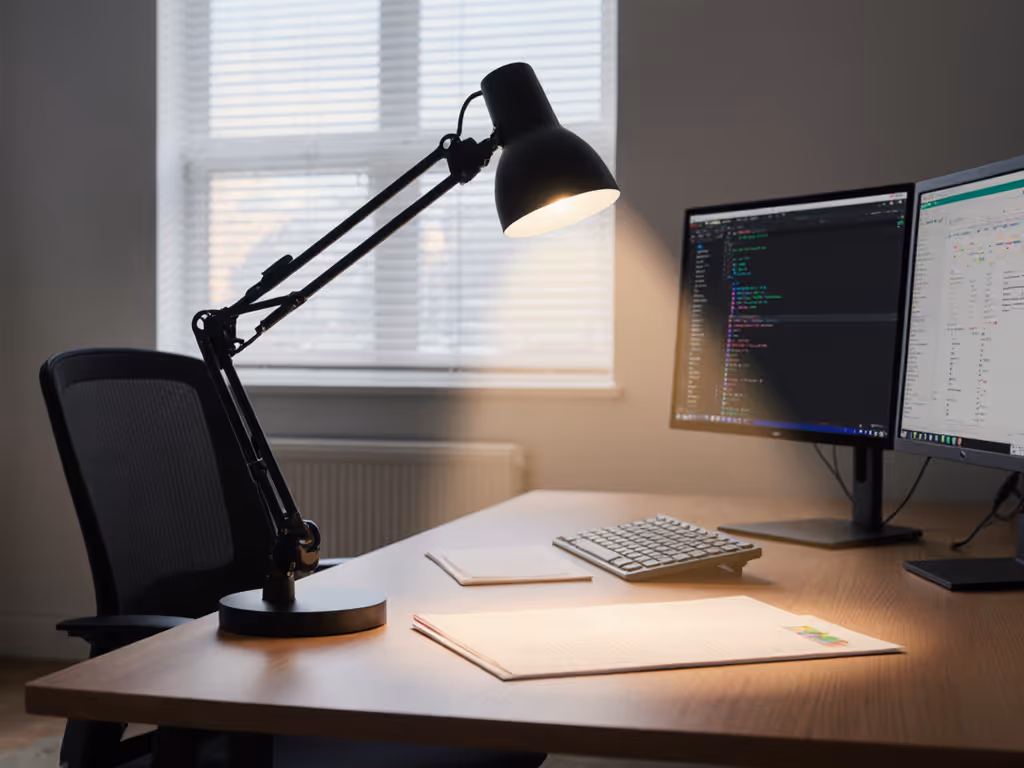
For right-handed users: Place your lamp on the left side of your desk For left-handed users: Place it on the right side Left-handed workflows also benefit from asymmetric beams; see our left-handed LED desk lamps for placement strategies and lamp picks.
Why this works: Light coming from the opposite side of your writing hand prevents shadows across your work surface. This glare prevention placement is backed by UC Davis Ergonomics research showing uneven lighting increases accommodative strain by 27% in users with presbyopia. If you've ever tilted your head to avoid shadows while note-taking, this simple switch will feel like magic.
Tilt your lamp head to a 30-45 degree downward angle. Here's how to check:
This angle balances two needs: delivering adequate lux to the work surface while avoiding direct eye exposure. For dual-monitor setups, angle lamps toward the primary screen's edge (never directly at the center where light would reflect). For a complete setup that eliminates glare across both screens, follow our dual monitor lighting guide. Task lighting lamps with adjustable heads make this easy; rigid designs often force compromises that cause glare.
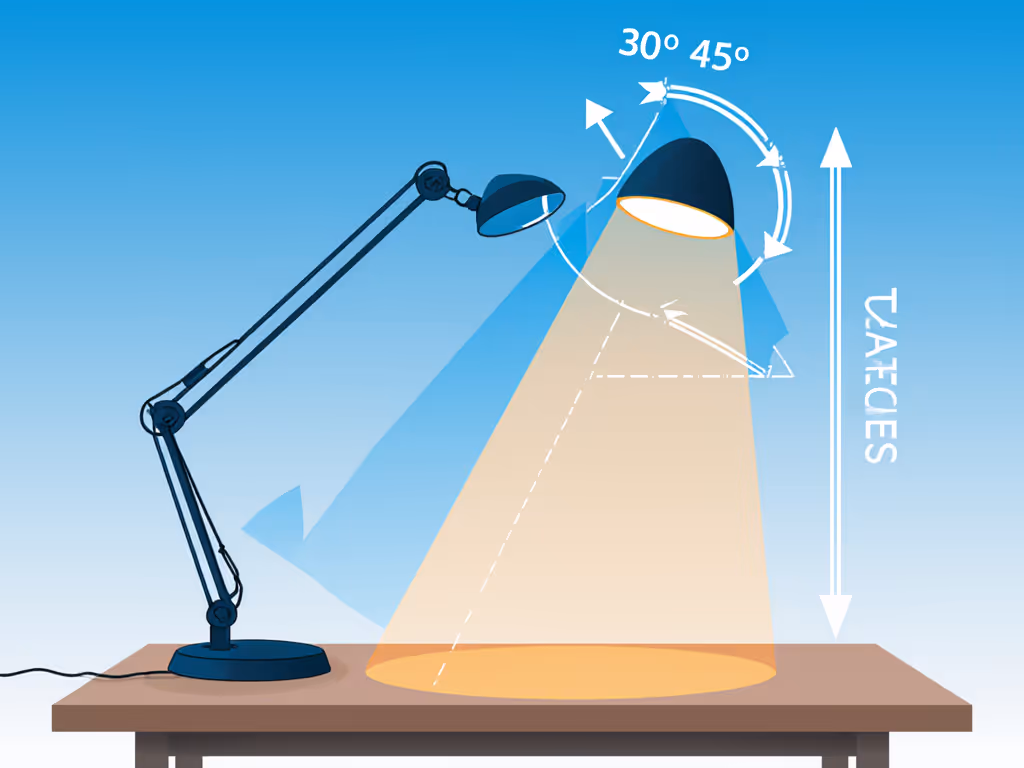
Forget "eye-level" myths, these measurements matter more:
Pro tip: If you're over 45, increase height by 2 inches to compensate for presbyopia, older eyes need 20% more lux to achieve the same visual clarity.
Verify your setup with these quick checks:
If your light creates "hot spots" (bright circles) or uneven coverage, lower the lamp height by 2-inch increments until illumination spreads evenly. This is where many lamps fail, beam shape matters as much as brightness.
Some desks break the rules. If your desk is L-shaped, a standing desk, or in a corner, use our placement guide for non-standard desks for exact angles and distances. For these common scenarios:
Remember: the goal isn't perfect symmetry, it's delivering consistent illumination where you work. That's why my sister's winning lamp wasn't the most powerful (it just spread light evenly across her novel manuscript).
Proper desk lamp placement science isn't about memorizing angles, it's about creating a repeatable framework that turns measurements into comfortable work sessions. You'll notice fewer headaches, faster reading, and that "just right" feeling when light supports rather than fights your workflow.
Ready to go deeper? Explore how lux targets change for color-critical work (like photo editing) or how circadian lighting affects late-night productivity. The key is always starting with placement, because even the smartest lamp can't fix physics. Now take 60 seconds to adjust your current setup using this framework. Those subtle shifts in lighting angle principles might be the productivity boost you've been missing.
Pick by task, then tune. Your perfect lighting starts with where you put the lamp (not just what lamp you buy).